
How to Make Cutting Board Wax with Beeswax
And Why It’s the Best Finish for Your Wood


4
If you own a wooden cutting board, you already know it’s more than just a kitchen tool — it’s a functional piece of craftsmanship. But like any natural wood product, it needs proper care to last a lifetime. One of the best ways to protect and restore your cutting board is by using cutting board wax made with beeswax.
At Woods & Wax, we work with hardwoods and beeswax every day, so we’re often asked: Can you make cutting board wax at home?
The answer is yes — and it’s surprisingly simple.
Let’s walk through how it’s made, why beeswax is essential, and how to use it correctly.
Why Beeswax Is Ideal for Cutting Board Wax
Beeswax has been used for centuries to protect wood, leather, and tools — and for good reason.
Beeswax is:
- Food-safe and non-toxic
- Naturally water-repellent
- Protective without sealing the wood completely
- Able to bring out rich grain and color
Unlike synthetic finishes, beeswax allows wood to breathe while still shielding it from moisture, stains, and cracking. When paired with a food-safe oil, it creates a durable, natural finish perfect for cutting boards.
What You Need to Make Beeswax Cutting Board Wax


4
You only need two ingredients:
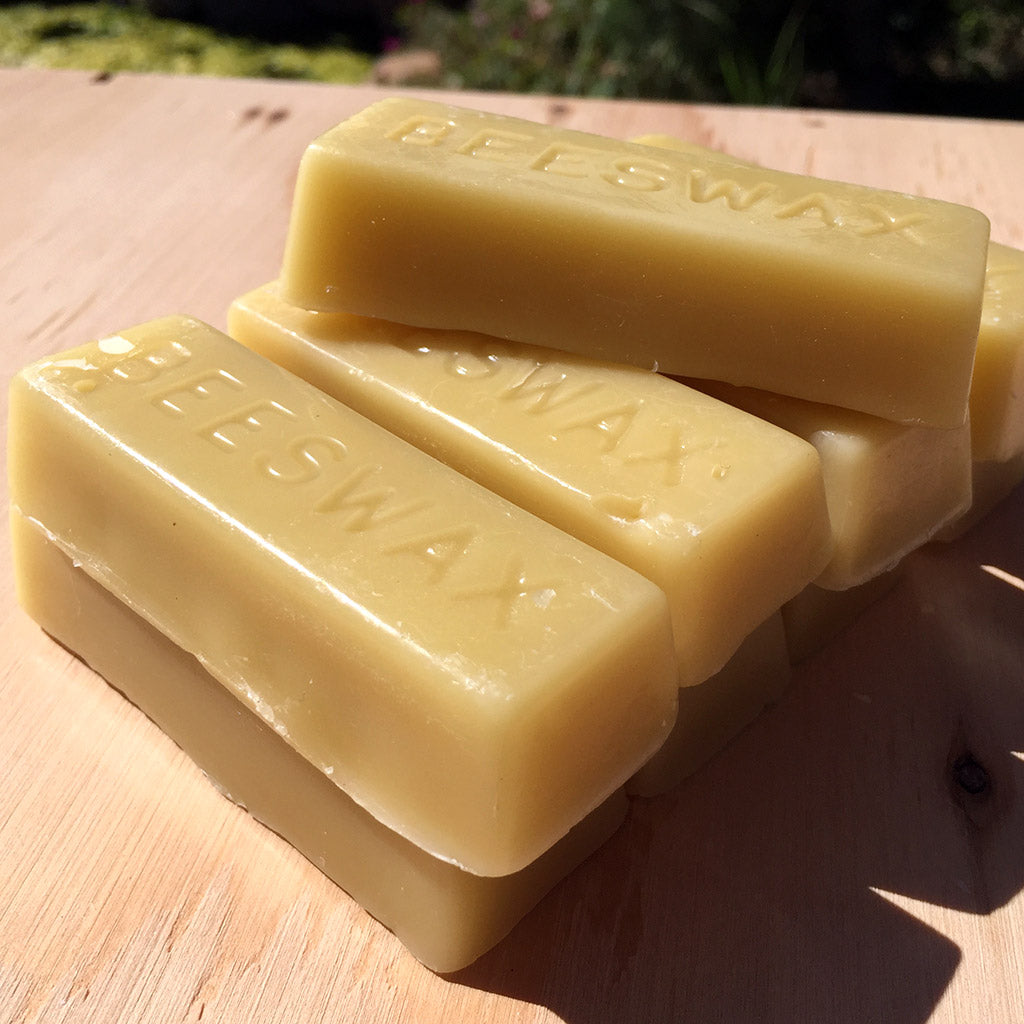
1. Pure Beeswax
Use 100% natural, filtered beeswax. Avoid beeswax blends or candles that contain fragrances or additives.
2. Food-Safe Oil
The most common choice is food-grade mineral oil, but other options include:
- Fractionated coconut oil
- Walnut oil (fully cured, allergen-aware use only)
For most cutting boards, mineral oil + beeswax is the most stable and long-lasting combination.
Simple Beeswax Cutting Board Wax Recipe
A classic ratio is:
1 part beeswax to 4 parts oil (by weight)
Step-by-Step Instructions
- Set up a double boiler
Place a heat-safe container in a pot of simmering water. - Melt the beeswax slowly
Beeswax melts around 145°F. Never place it directly on high heat. - Add the oil
Once the wax is fully melted, stir in the oil until completely blended. - Pour and cool
Pour into tins or jars and allow it to cool and solidify.
That’s it — you’ve made a natural, food-safe cutting board wax.
How to Apply Beeswax Cutting Board Wax


4
- Start with a clean, dry board
Make sure the board is fully dry before applying wax. - Apply a small amount
Use a clean cloth or your hands to rub the wax into the wood. - Let it soak in
Allow the board to absorb the wax for 15–30 minutes. - Buff off excess
Wipe away any residue and polish to a soft sheen.
For best results, reapply every 3–4 weeks or whenever the wood looks dry.
Why Homemade (and Small-Batch) Wax Is Better
Mass-produced board conditioners often include fillers, artificial stabilizers, or petroleum additives. A simple beeswax and oil blend gives you:
- Full control over ingredients
- No fragrances or chemicals
- A finish that actually nourishes the wood
At Woods & Wax, this same philosophy guides how we treat every cutting board we make — natural materials, simple formulas, and craftsmanship that lasts.
Final Thoughts
Making cutting board wax with beeswax is easy, affordable, and one of the best things you can do for your wooden kitchenware. Whether you make your own or use a professionally blended beeswax finish, regular conditioning will:
- Extend the life of your cutting board
- Prevent cracking and drying
- Enhance the natural beauty of the wood
A well-cared-for cutting board isn’t disposable — it’s something you can use and enjoy for decades.
If you believe in natural materials, thoughtful craftsmanship, and products that are made to last, you’re already thinking the Woods & Wax way.
Leave a Reply